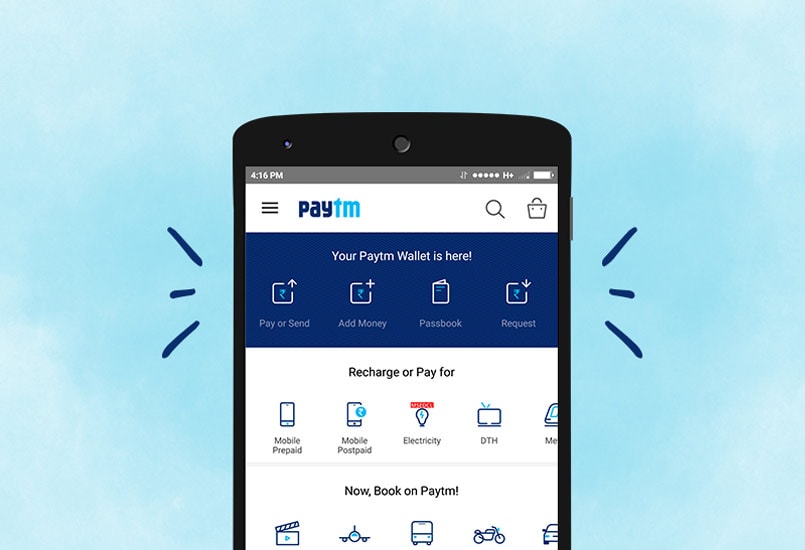
Paytm is the most popular mobile wallet and payment method used in India. The Paytm provides the SDK for IOS and Android which enables merchants to integrate payments into their mobile app. The Paytm payment gateway provides merchants to acquire money through their customers by temporarily redirecting them to Paytm’s web server. However, before implementing further processes, make sure you hire android developer if you aren’t a technical person.
Steps to integrate Paytm in android:
- Add Paytm Gradle dependency to your android project
- Upload Checksum file to your web-server
- Call checksum file from your application
- Paytm transaction service
Step 1) Adding Paytm dependency :
- Create a new project and add Paytm dependency in your app build.gradle file
implementation ‘com.paytm:pgplussdk:1.0.1’
- Define the INTERNET and ACCESS_NETWORK_STATE permissions to your AndroidManifest.xml. These two permissions are required for Paytm payment services to run.
<uses-permission android:name="android.permission.INTERNET" />

<uses-permission android:name="android.permission.ACCESS_NETWORK_STATE" />
-
- Add PaytmPGActivity in your AndroidManifest.xml and this activity is already present in the PGSDK. This Activity perform all transaction related information and provide you callback.
<activity
     android:name="com.paytm.pgsdk.PaytmPGActivity"

     android:configChanges="keyboardHidden|orientation|keyboard" />
- If you are using proguard than add this rules to your proguard-rules.pro file:
-keepclassmembers class com.paytm.pgsdk.PaytmWebView$PaytmJavaScriptInterface

 {

public *;
}
Step 2) Upload Checksum file :
We need to register for a developer account on Paytm in order to use its payment services. Create a new account using below link and select sandbox server for testing after successfully logging in.
https://business.paytm.com/payments/developers-api
Paytm provide sandbox server to test Paytm payment services before moving to production. Note down credentials as it will be used in a further step.
Checksum helps ensure the integrity of transactions i.e. it helps ensure that the transaction requests have not been intercepted and tampered with.
Paytm provide checksum file for a different platform such as PHP, Java, Python, Ruby, NodeJs, .Net, Transaction Status API. We will be using PHP file and you can download the checksum file from below URL :https://github.com/Paytm-Payments/Paytm_App_Checksum_Kit_PHP
Provide the value for PAYTM_MERCHANT_KEY that we acquire from sandbox server in /lib/config_paytm.php file and upload the checksum PHP file to your web-server.
Step 3) Call checksum file:
Send a request from android to your web-server to generate a checksum.
To generate checksum file you need to call generateChecksum.php file and this API call will need this parameter Merchant_Id, Order_Id, Customer_Id, Channed_Id, TXN_Amount, Website, Callback_URL, and Industry_type. You will get all of this parameter from sandbox account except order_id, customer_id, and txn_amount (order_id must be unique). You will receive checksum from API call response store it in variable as you will need it call paytm transaction service.
Step 4) Paytm transaction service:
Create a PaytmPGService instance. Either create Staging service or create Production service depending on your need. We will be using staging service for testing.
- PaytmPGService.getStagingService() will return the Service Object pointing to Staging Environment.
- PaytmPGService.getProductionService() will return the Service Object pointing to Production Environment.
Pass the same parameters that you had passed while registering checksum i.e. MID, ORDER_ID, CUST_ID, CHANNEL_ID, TXN_AMOUNT, WEBSITE, CALLBACK_URL, INDUSTRY_TYPE_ID and one more CHECKSUMHASH that we acquire in the previous call.
Create PaytmOrder Object holding the order information. The syntax for creating PaytmOrder Object is as follows:
PaytmOrder order = new PaytmOrder(Map<String, String> paramMap);
Note: Where paramMap is the map enveloped with request parameter of names and their respective values.
Next, initialize the PaytmPGService with PaytmOrder object and in the second parameter pass the Paytm certificate, this is optional so you can pass null.
Now use PaytmPGService object to start the PaytmTransaction and pass necessary parameters.
That’s it, you can find the whole Paytm project on GitHub at below link:
https://github.com/android-elsner/PaytmDemo/
In case of any query, you can contact our android developers for guidance.