- What are the Steps Involved in the Configuration of a WooCommerce Plugin?
- Step 1: Consider Installing and Activating the WooCommerce Plugin
- Step 2: Run the WooCommerce Setup Wizard
- Step 3: Configure General WooCommerce Settings
- Step 4: Tailor Product Settings
- Step 5: Extend Functionality by Choosing WooCommerce Plugin for Your Store
- Step 6: Set Up Product Categories and Attributes
- Step 7: Configure Shipping and Payment Methods
- Step 8: Test and Fine-Tune Your Online Store
- Final Thoughts
WooCommerce powers more than 38.74 percent of all e-commerce stores, and this number continues to grow at a rapid pace. Industry projections suggest the e-commerce market will reach $8 trillion in the coming years.
With the rising popularity of online shopping and evolving consumer expectations around performance and user experience, building your own online store with WooCommerce and WordPress has become both accessible and cost effective. Modern WooCommerce configurations now prioritize Core Web Vitals, mobile optimization, and streamlined checkout experiences that directly impact conversion rates and search visibility.
You have arrived at the right resource if you plan to build your e-commerce store using WooCommerce. Here, we will walk you through the step by step process to configure WooCommerce plugins for your store, covering both foundational setup and performance optimization considerations relevant to today’s competitive landscape. So, let’s get started:
What are the Steps Involved in the Configuration of a WooCommerce Plugin?
Below are the key steps that are involved in the configuration of the WooCommerce Development Services plugin for your store; you should be well aware of:
Step 1: Consider Installing and Activating the WooCommerce Plugin
The first and most critical step of establishing your e-commerce store involves installing and activating WooCommerce plugins. Here is how you can do so:
- For this, you need to log into your WordPress admin dashboard.
- Now, visit the “Plugins” section and tap the “Add New” option.
- The next step is to type “WooCommerce” in the search bar.
- After you are done locating the WooCommerce plugin, you need to tap on the “Install Now” option.
- Once the installation process is completed, you need to click on the option “Activate”, which will facilitate the activation of the plugin.
- Finally, your plugin is installed and activated. Now, you are ready to proceed with further configuring your e-commerce store.
Step 2: Run the WooCommerce Setup Wizard
After you have activated WooCommerce plugins, you will get to see a prompt that will ask you to run the setup wizard. This wizard will guide you through the essential settings for your store.
Below are the steps by which you can finish the setup process:
- Firstly, tap the “Run the Setup Wizard” button on the welcome screen.
- As a part of the next step, you must provide all the crucial details about your store. It includes its product types, currency and location.
- Now is the time to configure the payment options you wish to provide your customers. In this regard, you must note that WooCommerce supports multiple payment gateways like Stripe, PayPal, etc. You need to select the ones that best go with your business requirements.
- The subsequent step is to set up shipping alternatives by specifying your preferred shipping rates and methods.
- After that, you should focus on configuring tax settings depending on the location of your store and tax regulations.
- This step involves tailoring the look of your store, which you can do by choosing a particular theme and defining the colour scheme.
- It would help if you focused on activating add on WooCommerce features like inventory management and automated taxes.
- Finally, you must review your settings, make any required modifications, and tap the “Continue” option.
Step 3: Configure General WooCommerce Settings
Once you have finished the initial setup of the WooCommerce plugin for your store, you need to configure the general settings. These settings typically include:
- General: It allows you to set your store’s base location, customer location(s), and selling location(s).
- Products: This setting lets you determine how your products are exhibited and sorted on the front end of your store.
- Tax: It involves configuring tax options and classes, especially for your products
- Checkout: It will allow you to tailor the checkout process, including enabling guest checkout and specifying the required fields.
- Accounts & Privacy: With its aid, you can define how to handle privacy related settings and manage customer accounts.
- Shipping: This option helps you to set up shipping methods, zones and classes properly.
- Advanced: It lets you fine tune advanced settings, including webhooks, REST API and system status.
- Emails: Using this, you can tailor the email templates sent to customers for different actions like shipment notifications and order confirmation.
Step 4: Tailor Product Settings
The next step involves configuring product settings that let you define how your products are managed and presented on your online store. A few important settings that you should essentially consider include the following:
- General: This setting will allow you to set the default product sorting and measurement units.
- Downloadable Products: It helps you specify download limits, filing access restrictions, and downloading methods for digital products.
- Inventory: With the help of this option, you can effectively manage stock, facilitate low stock notifications and determine whether to allow backorders.
- Product Reviews: This option will allow you to turn customer reviews on or off and determine whether they require approval before it is shown.
- Product Listings: With its aid, you can configure how products are exhibited in your store. It includes catalog settings and image sizes.
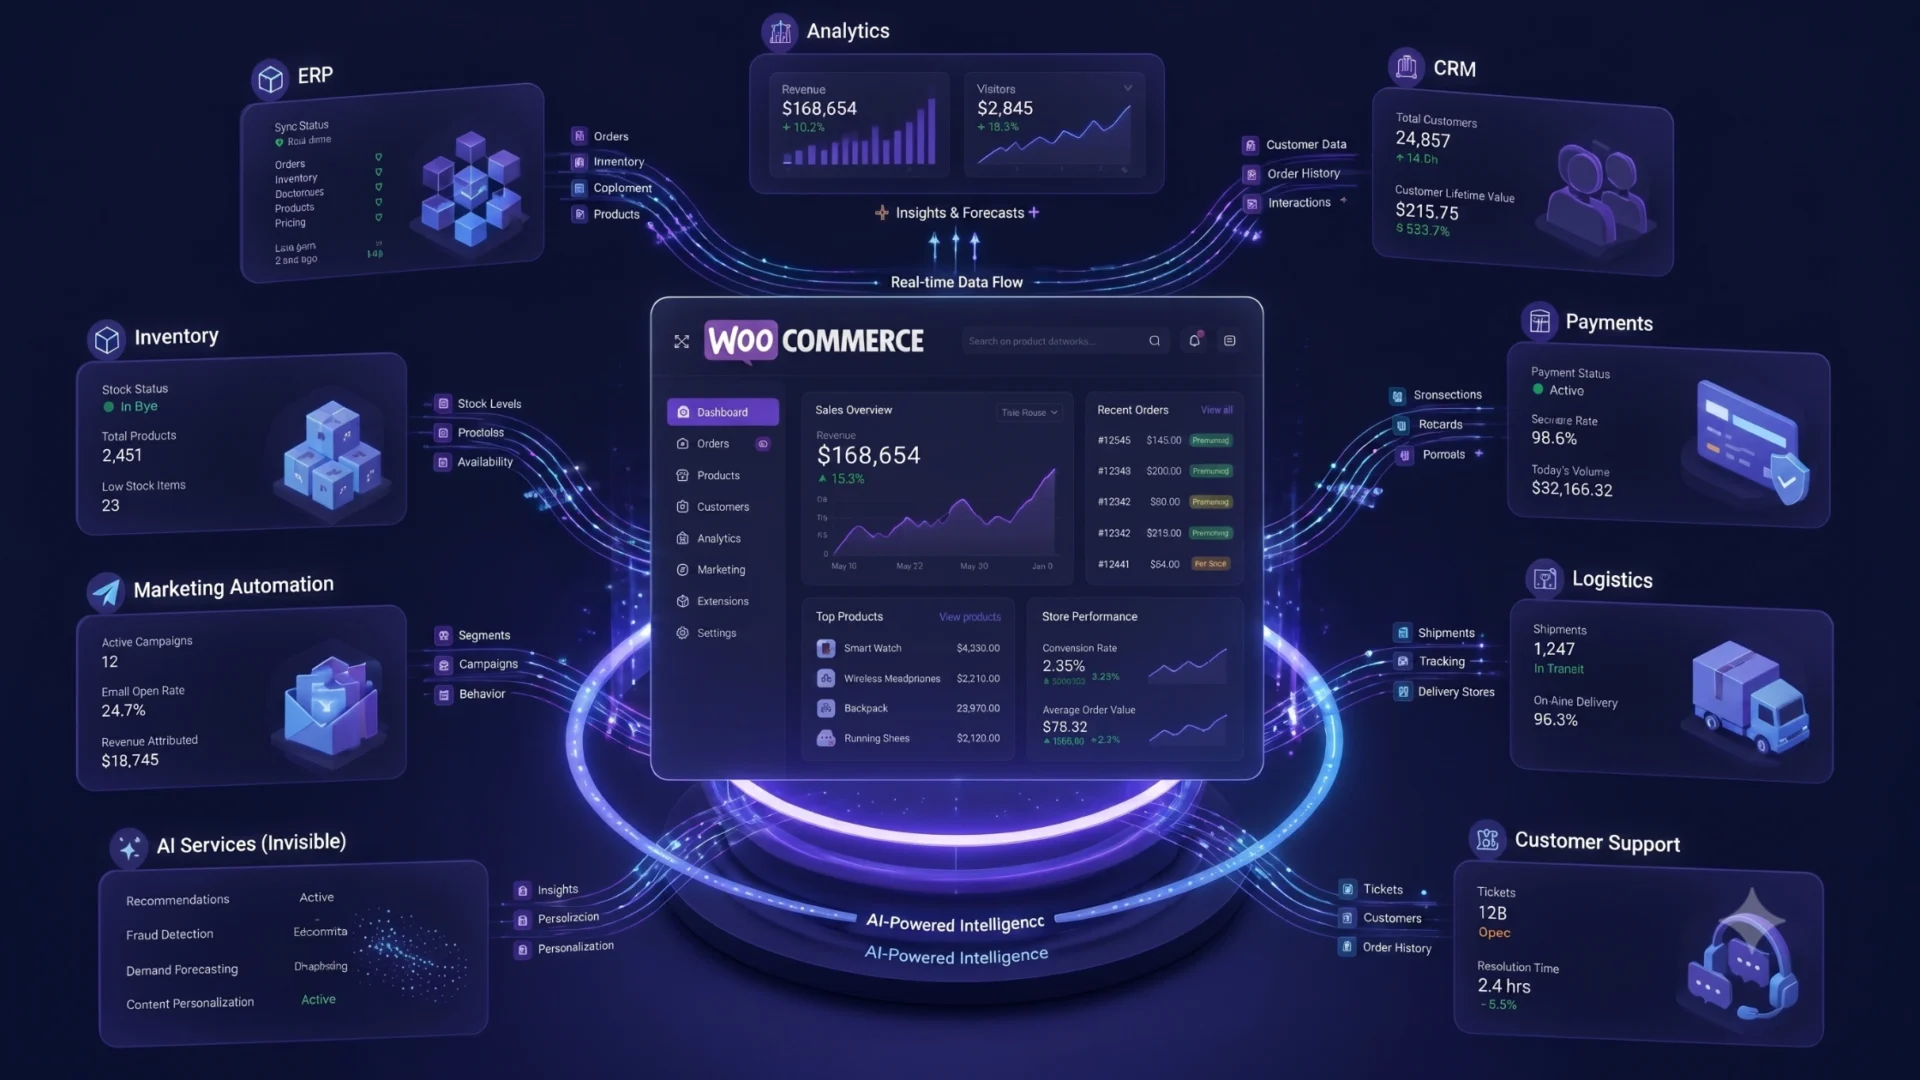
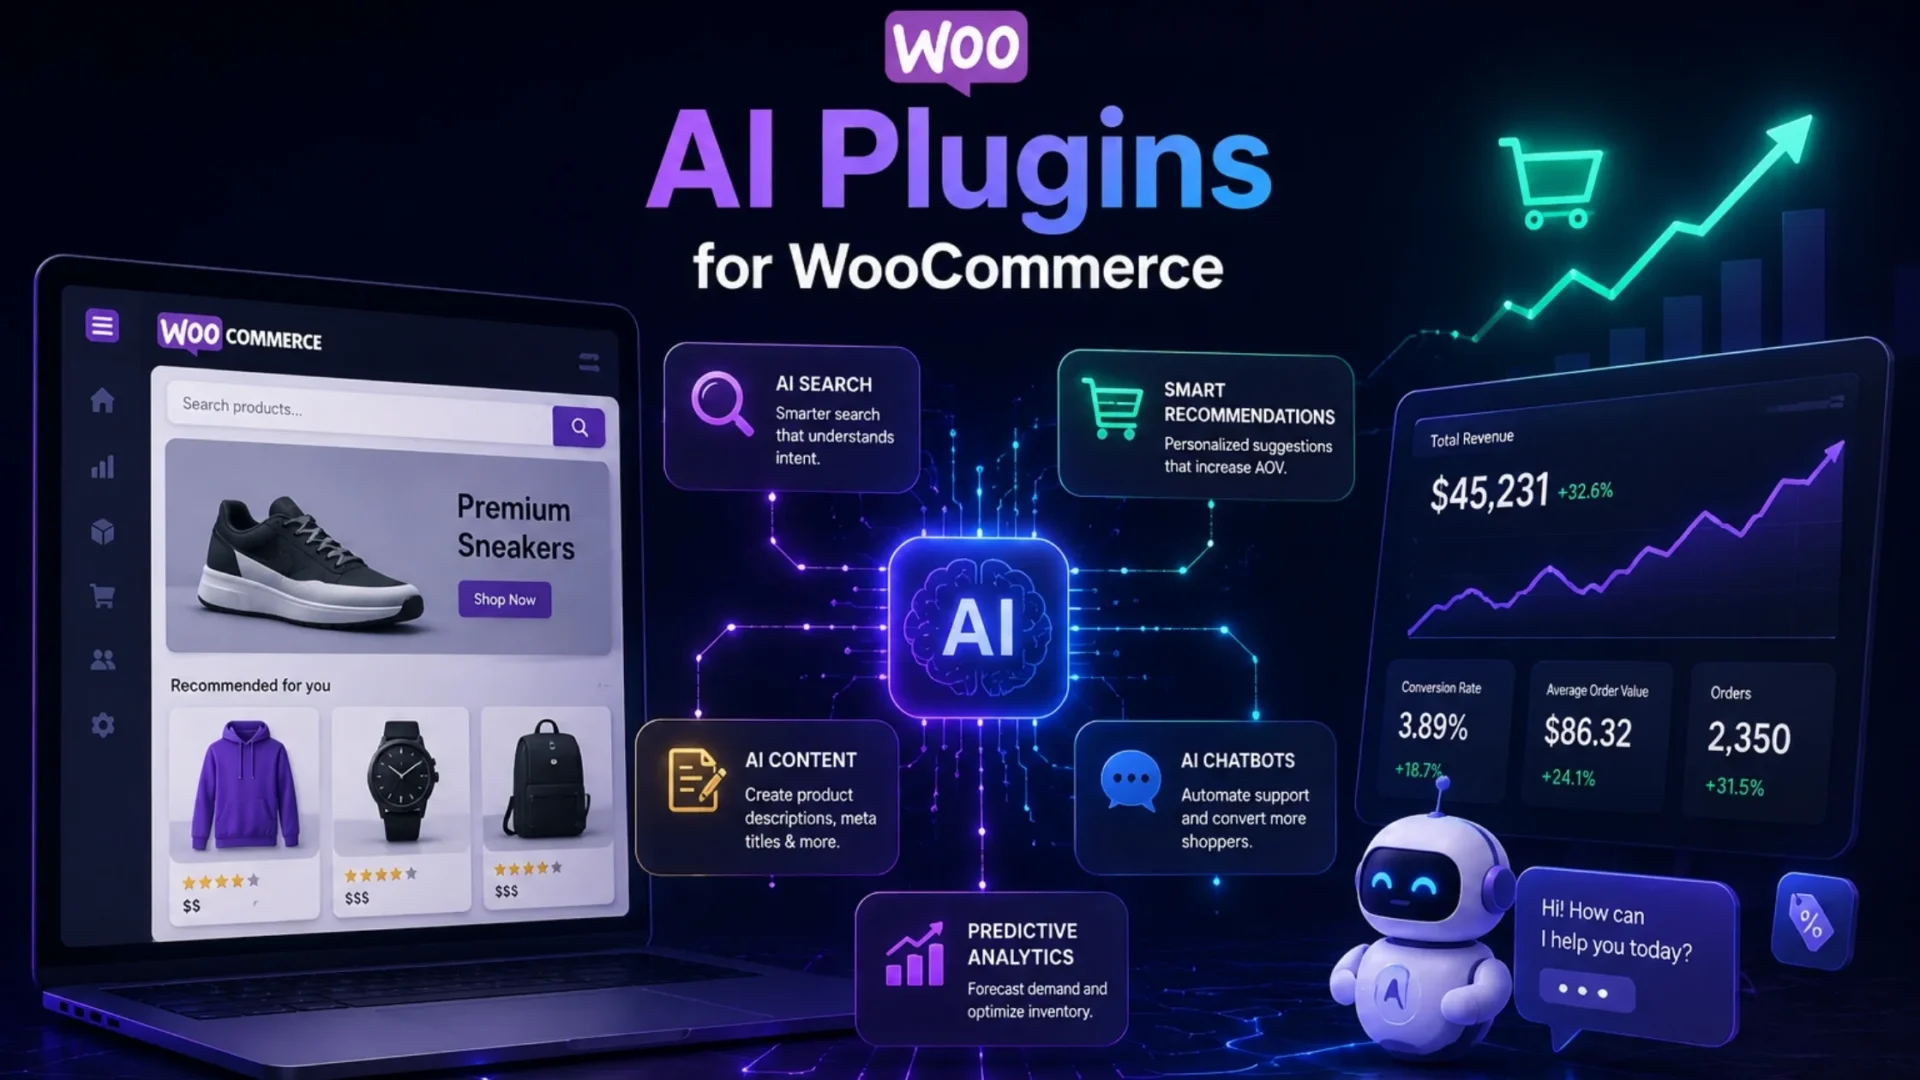
Step 5: Extend Functionality by Choosing WooCommerce Plugin for Your Store
WooCommerce is known for providing a diverse range of extensions that plays a crucial role in improving the functionality of your store. Below are how you can add extensions to your e-commerce store:
- For this, first of all, you need to access the Extensions Marketplace of WooCommerce from your WordPress admin dashboard.
- The next step is to browse the available ones and choose the ones that effectively match your specific requirements. Using these extensions, you can add specific features such as shipping integrations, additional payment gateways, advanced analytics, etc.
- After that, you need to install and activate the ones that you find most suitable.
- Once you have done this, you should configure the settings for every extension you have activated to integrate those into your store seamlessly.
- Finally, it is recommended that you update your extensions regularly to make sure that they remain compatible with the most updated WooCommerce version.
You can opt for trusted WooCommerce store development services for any related help.
Step 6: Set Up Product Categories and Attributes
You would be able to considerably improve the shopping experience by organizing your products into categories and by assigning attributes. Below are the key steps that will help you to set up product categories along with attributes:
- The first and foremost step is to go to the “Products” section in your WordPress admin dashboard and tap the “Categories” option.
- The next step involves creating pertinent categories that effectively align with your product offerings. For instance, if you are engaged in selling clothing, you are most likely to have specific categories such as “Accessories”, “Women’s Clothing”, “Men’s Clothing”, etc.
- Now, you need to define product attributes like colour, size, material or any other characteristic that applies to your products. You would be able to do this by visiting “Products”> “Attributes” and incorporating new attributes.
- As a part of the final step, you must assign attributes to products by choosing the proper attributes from the available options and editing individual product listings.
Step 7: Configure Shipping and Payment Methods
You must appropriately configure your shipping and payment methods to ensure a smooth transaction process. Here are a few ways in which you can set up shipping and payment options:
- Firstly, consider navigating to the “WooCommerce”> “Settings”> “Payments” tab.
- After that, you must select the payment gateways you wish to offer your customers. Next, configure the necessary settings for each gateway. Also, you should make sure to provide all precise information and enable any account connections that are required.
- Again, you need to go to the “WooCommerce”> “Settings”> “Shipping” tab.
- Now, it is the time to set up your preferred shipping methods, zones, and rates depending on your unique business needs. You can even offer other options, such as free shipping, flat rate shipping or real time carrier calculations.
- The last step you must follow involves defining shipping classes in case you have distinct product types requiring different shipping rates or rules.
Step 8: Test and Fine-Tune Your Online Store
Before launching your store, you must test its functionality thoroughly and make any required adjustments. Testing is especially important in 2026, as search engines increasingly prioritize authentic user experience signals and site performance metrics. Below is discussed how you can consider fine tuning your online store:
- Consider placing test orders to ensure the whole checkout procedure operates smoothly.
- After that, you need to meticulously review the layout and design of your store on various devices. By doing so, you can ensure that it is user friendly and responsive.
- Once you have done this, you must thoroughly test different product categories, attributes and variations to ensure they are appropriately displayed.
- Now is the time to enable and test any extra features or plugins you have installed.
- Finally, you need to seek feedback from others. Based on that, you can make specific improvements to it.
Final Thoughts
After reading this blog post, we hope you have understood how to install an active WooCommerce plugin to your online store.
However, if you are finding any difficulties in navigating these steps, you need to hire WooCommerce developer who can assist you in doing this and help in successfully achieving your business objectives.