- Should my WordPress Site be Migrated Automatically or Manually?
- How do you Perform a Manual Migration of your WordPress Website?
- Step 1: Choose a new Hosting Provider for your WordPress Website
- Step 2: Take a backup of your site’s files
- Step 3: Take a backup of the WordPress Database
- Step 4: Export WordPress Database
- Step 5: Generate a new SQL database and import the contents from your previous database
- Step 6: Upload your WordPress site files to the new web host
- Step 7: Configure Your Site’s wp-config.php File
- Step 8: Change Your DNS (Domain Name Service)
- Alternative WordPress website migration method: Migrating your site using Plugins
- Wrapping Up
Are you considering a change in hosting services but feeling uncertain about the steps involved in moving your WordPress website from its current host to a new one?
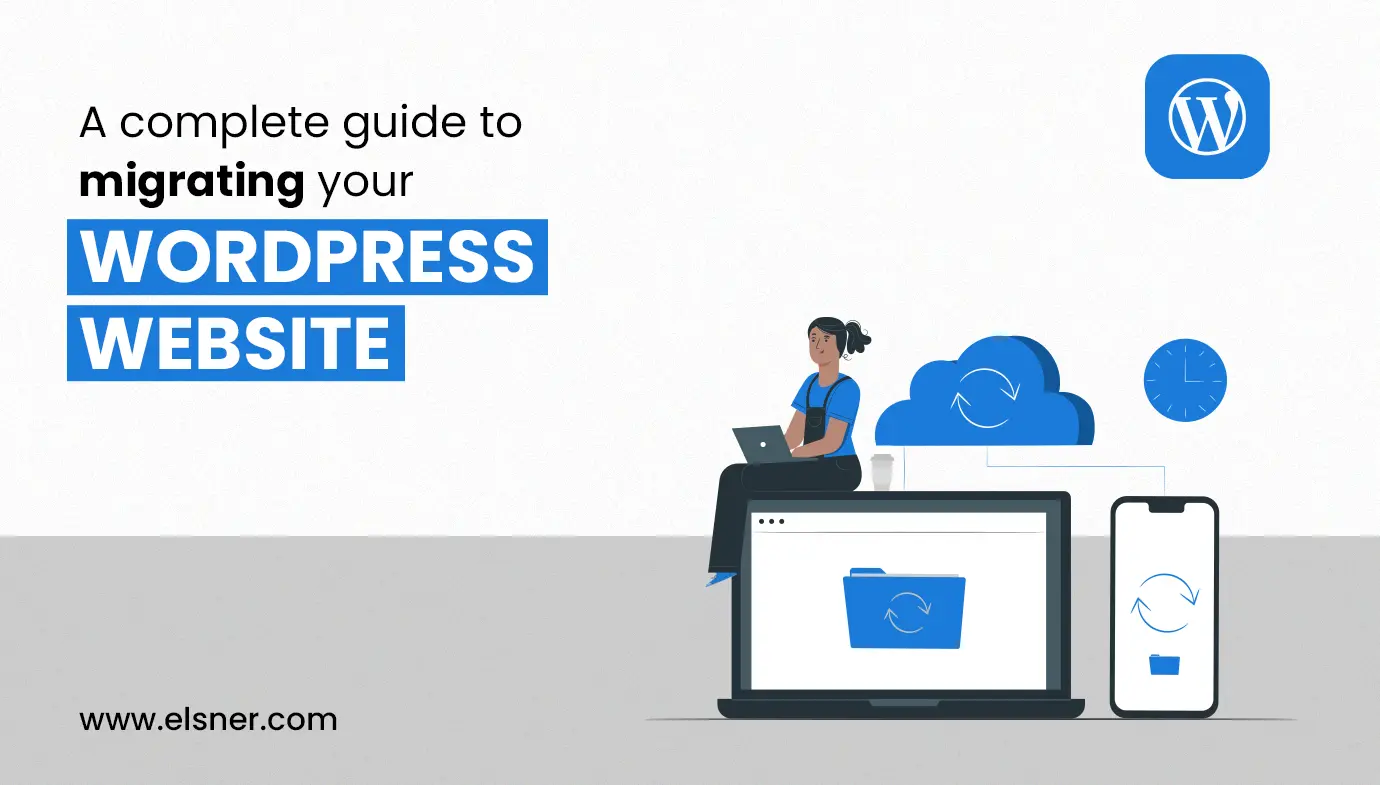
Migrating your WordPress website might sound complex, but it doesn’t have to be. Think of it as moving to a new house—with the right plan and tools, you can make the transition smooth and hassle-free.
Whether you’re switching hosting companies, launching your website on a live server, or simply changing your domain name, this guide is your trusted resource. We’ll walk you through every step of the process, ensuring that your website remains intact, fully functional, and ready for its new home. From understanding core migration principles to executing manual transfers and leveraging modern automation tools, you’ll gain practical insights drawn from real migration scenarios. So, let’s begin this journey together, and soon enough, you’ll master the art of WordPress website migration.
Should my WordPress Site be Migrated Automatically or Manually?
A WordPress website can be easily migrated. However, if you prefer to do it manually, you’ll need to be familiar with File Transfer Protocol (FTP), databases, and backend file editing. If not you can always rely on WordPress development services with the right experience and expertise in the same.
Although those procedures seem difficult, they are manageable if you follow a detailed explanation. However, you may always use a WordPress migration tool or plugin if you’d rather try a more straightforward method. There are many choices, and later on, we’ll introduce you to some of our best options.
When utilizing migration plugins, keep in mind that huge websites may be more prone to failure. In those circumstances, manual migration is the preferable strategy. You shouldn’t have any issues if you properly follow the instructions given.
Finally, it’s important to note that certain web hosting providers give new customers complimentary migration services. Although it can be expensive, you can also pay a third party service to assist you with moving your website (make sure you choose a company with a good reputation).
How do you Perform a Manual Migration of your WordPress Website?
 When embarking on a WordPress site migration, the manual approach is often favored for its increased control over the process. However, it’s crucial to opt for the manual method only if you possess a solid grasp of FTP (File Transfer Protocol).Furthermore, within the manual process, you’ll need to migrate WordPress website files and databases manually. This entails having access to the core directories and files. Let’s delve into each step of the manual WordPress migration process.
Step 1: Choose a new Hosting Provider for your WordPress Website
When you create a WordPress website with the help of WordPress developer, it is, by default, hosted on the platform. To publish the site, however, the majority of businesses use third party hosting providers. But occasionally, they have to switch hosts due to service issues, security concerns, or other issues.If you also want to migrate a WordPress website from the current host to a new host. The next thing to do is to look up a trustworthy WordPress hosting company online. Additionally, bear in mind to look into the accessibility of the following elements when choosing a service. It would assist you in determining whether the services are dependable or not.
- Solid state drive (SSD) storage for enhanced database performance
- Unrestricted bandwidth to ensure seamless website accessibility
- SSL certification to uphold security standards
- Integrated malware scanner for enhanced protection
- Complimentary email services
- Expertly managed WordPress services and speed enhancement
- Round the clock customer support
- Specialized eCommerce optimization assistance
- Effortless migration at no cost
- Regular backups and a guaranteed uptime commitment
If the providers provide the services mentioned above, you must consider it when using hosting services. And before choosing anyone, make sure to compare it with other options to accurately assess pricing and features.
Step 2: Take a backup of your site’s files
Securing the backup of your website files with the help of expert WordPress developer is of utmost importance, particularly as you’ll require these files for the subsequent transfer to a different hosting service. In this step, you’ll utilize File Transfer Protocol (FTP). Streamlining this process is possible through the utilization of automated utilities such as FileZilla, cPanel backup, or similar alternatives.
Once you establish a connection with your current server, navigate through the directories to locate the folder containing all the necessary files. This folder should either be named after your site, www, or labeled as “public_html.” Upon finding it, right click on the folder and initiate the download process. This action will transfer all the files to your local machine. Before disconnecting, it’s important to confirm that all files are downloaded correctly.
In the event that some files are corrupted or fail to download, you may need to repeat the process. To minimize the risk of such issues, consider using cPanel backup as it ensures a flawless backup of all your website files.
Step 3: Take a backup of the WordPress Database
In addition to your website’s other files, it’s imperative to back up your database as well. The cPanel acts as the critical control panel furnished by your hosting service for efficiently overseeing your website and its interconnected resources. User profiles, content, login information, and any other vital data maintained on your site are all covered by creating a database backup as a preventative step.
To initiate a database backup, access the phpMyAdmin option, typically situated within the database section. Once located, you can proceed with creating the necessary backup. Furthermore, phpMyAdmin provides the functionality to not only create a backup but also establish a new database and facilitate its download.
Moreover, phpMyAdmin conveniently presents a comprehensive list of all available databases. You need to identify and select the relevant ones before moving on to the export tab for the ensuing steps.

Step 4: Export WordPress Database
Once you’ve reached the Export tab, choose the desired database format for downloading. If you’re preparing for a WordPress migration, opt for SQL as the format. To kick off the process, click on the Go button.

By doing this step, you will be able to get a copy of your website’s database, which will be saved in the .sql file format.
Step 5: Generate a new SQL database and import the contents from your previous database
Following this, your next task involves establishing a fresh database within the new web hosting environment you’re transitioning to. Subsequently, you’ll import the contents from your former database, thereby replacing the information in the newly created database.
If your new WordPress hosting also employs cPanel, here’s your course of action:
- Head to the Databases section in cPanel and select the option for MySQL Databases.
- Generate a new database and assign a user to it from this same tab. Make sure to remember the names you designate for future reference.
- Access the new database through phpMyAdmin, as you did in the prior step.
- Within the new database, navigate to the Import tab and proceed to upload the .sql file that you previously generated.
- By accomplishing these steps, your former database will now reside within your new web hosting environment. However, the process isn’t complete yet—you still need to re-upload the remaining files from your previous website.
However, if you’ve decided on a hosting service that doesn’t employ cPanel, you’ll need to refer to a different set of directions. These instructions will be personalized to the particular hosting environment you’ve selected.
Step 6: Upload your WordPress site files to the new web host
After successfully importing the database to the new host, the next step involves transferring your website files. Similar to the previous procedure, establish a connection to the new host using the File Transfer Protocol (FTP). Once connected, please navigate to the root folder and perform a right click anywhere within it. This action will prompt the “upload” option to appear.
Next, select “Upload” and proceed to choose all the relevant files, folders, and directories associated with your website. Once your selections are made, begin the upload process. Upon completion, you’ll observe that all your files are now present on the new host.
With this step, your new WordPress hosting environment now contains both the database and the site files.
Step 7: Configure Your Site’s wp-config.php File
Once you have all your files on the new server, you will need to go into your WordPress root folder once more. If you try to actually connect to your web browser now, it won’t work because you have to update the WordPress’ wp-config.php file so that it points to your new database.
To do this, locate the wp-config.php file in your new root folder, right click on it and select View/Edit option:
This will allow you to open the file with your local text editor, allowing you to make changes. Here are three rows you need to update.
define(‘DB_NAME’,’db_name’);
define(‘DB_user’,’db_user’);
define(‘DB_PASSWORD’, ‘db_pass’);
All three rows will now contain values that refer to your old database. Go ahead and replace the minor changes you made in Step 3 with the credentials of your new database.
Then, save the changes to a file and close it. You can now access your WordPress website, which will look the same as before.
Step 8: Change Your DNS (Domain Name Service)
Finally, it’s time to ensure that your server recognizes and serves the correct website address to end users. To accomplish this, you have several options for updating the domain name:
- Domain Transfer: If you initially purchased your domain from a hosting provider, consider transferring it to your new host. This process will ensure that your domain is fully managed by the new hosting service.
- Switch DNS Nameservers: Alternatively, you can update your DNS nameservers. This involves configuring your domain registrar settings to point to the new host’s nameservers. This way, the DNS servers will correctly direct traffic to your new server.
- Consult Hosting Provider’s Guide: To gain a better understanding of the DNS update procedure tailored to your new hosting provider, consult their specific guidelines and instructions. Different hosting providers may have unique processes for updating domain names.
By implementing one of these methods, you’ll guarantee that the DNS server accurately directs users to your website’s correct address, ensuring a seamless transition to your new hosting environment.
Alternative WordPress website migration method: Migrating your site using Plugins
Most people think that WordPress plugins are only for enhancing the website’s functionality. However, it can also be used for WordPress migration purposes. There is a special plugin specifically designed to ensure a smooth transition from one hosting environment to another. These plugins are geared to handle critical tasks such as database backups and site file transfers.
Some of the outstanding WordPress migration plugins in the market include:
- WP Migration All In One
- Duplicator manufacturing
- UpdraftPlus is available
- WP Migration DB
- Travel Guru
While you are free to choose from these options, it is important to note that many professionals prefer an All In One WP Migration plugin. You will need to install it on your current and new hosting platforms to use it properly. Here is a step by step guide for using this plugin:Step 1: Go to your WordPress dashboard and select the All In One WP Migration plugin.Step 2: Select the “Export To” option and select “File”. Step 3: Connect to your new hosting server.Step 4: Import your WordPress credentials to your new hosting server.Step 5: Find the All In One WP Migration plugin in the new host’s WordPress dashboard and click “Import From.”
Step 6: Select the desired location, and your website will go through the migration process.
It should be noted that the free All In One WP Migration plugin has a data limit of 512 MB. If your website exceeds this size, you may want to consider purchasing the premium version of the plugin for a seamless migration experience.
Wrapping Up
Migrating a WordPress site is a critical process that requires careful attention to detail to avoid complications. Before embarking on the migration journey, it’s essential to grasp the concepts of File Transfer Protocol (FTP) and the role of plugins. You also have the choice between two migration approaches: the manual method and utilizing plugins.
With the manual method, you’ll need to back up both the database and files, followed by importing them to the new hosting environment. Conversely, if you opt for the plugin method, much of the migration process becomes automated, streamlining the overall procedure. Regardless of the method you choose, it’s crucial to verify and update the DNS server settings post migration by the best WordPress development services to ensure that end users are directed to the correct website.
In 2025 and beyond, successful migrations also consider performance optimization, Core Web Vitals impact, and maintaining SEO equity throughout the transition. Testing your site thoroughly post migration—including mobile responsiveness, page speed, and indexing status—ensures you preserve both user experience and search visibility. Partnering with experienced WordPress development services can help ensure a seamless and error free migration experience, especially when dealing with complex websites.