- What is the process of Shopify migration based on the platform?
- WooCommerce
- Etsy
- BigCommerce
- Squarespace
- How to import data into the Shopify store?
- 1. Configure the administrative settings
- 2. Import Store Information and Data into Shopify
- 3. Organize the data after migration
- 4. Set the website’s look and feel
- How to export data from the Shopify store?
- The simple steps to follow for exporting products are:
- The simple steps to follow for exporting customers are:
- What are the benefits of migration in Shopify?
Be it customers, owners, or products, and everyone is stuck when transferring information on e-commerce stores. A single mistake can lead to losing data and cause great losses to the business.
Using Shopify development services, whether you are building a new store or moving towards an updated version, it becomes essential to choose the right method to ensure smooth data migration.
We will share an effective method to import and export data in Shopify.
What is the process of Shopify migration based on the platform?
WooCommerce
- Reach the admin page
- Click on Tools > Export > All Content
- Then click on Download Export File
Etsy
Product:
- Click on Settings
- Redirect to Options > Download Data > Currently for sale listings
- Then Download CSV
Customer:
- Reach the dashboard
- Click on Settings
- Redirect to Options > Download Data > Orders > [Month/Year]
- Then Download CSV
Order:
- Reach the dashboard
- Click on Shop Manager and then Settings
- Redirect to Options > Download Data > Orders Items > [Month/Year]
- Then Download CSV
BigCommerce
Products:
- Click on Products > Export
- Then choose Export Template and File Format
- Redirect to Default > Continue > Export my product to a CSV file
Product Details:
- Reach Export Template and File Format Options
- Click on Bulk Edit > Continue > Export my product to a CSV file
Order Information:
- Click on Orders
- Redirect to Export > Export Template and File Format Options
- Default > Continue > Export my orders to a CSV file
Customer Data:
- Click on Customers
- Redirect to Export > Export Template and File Format Options
- Default > Continue > Export my customers to a CSV file
Squarespace
Products:
- Reach the home menu
- Commerce > Inventory > Export as CSV
Orders:
- Redirect to the home menu
- Redirect to Commerce > Orders > Export as CSV
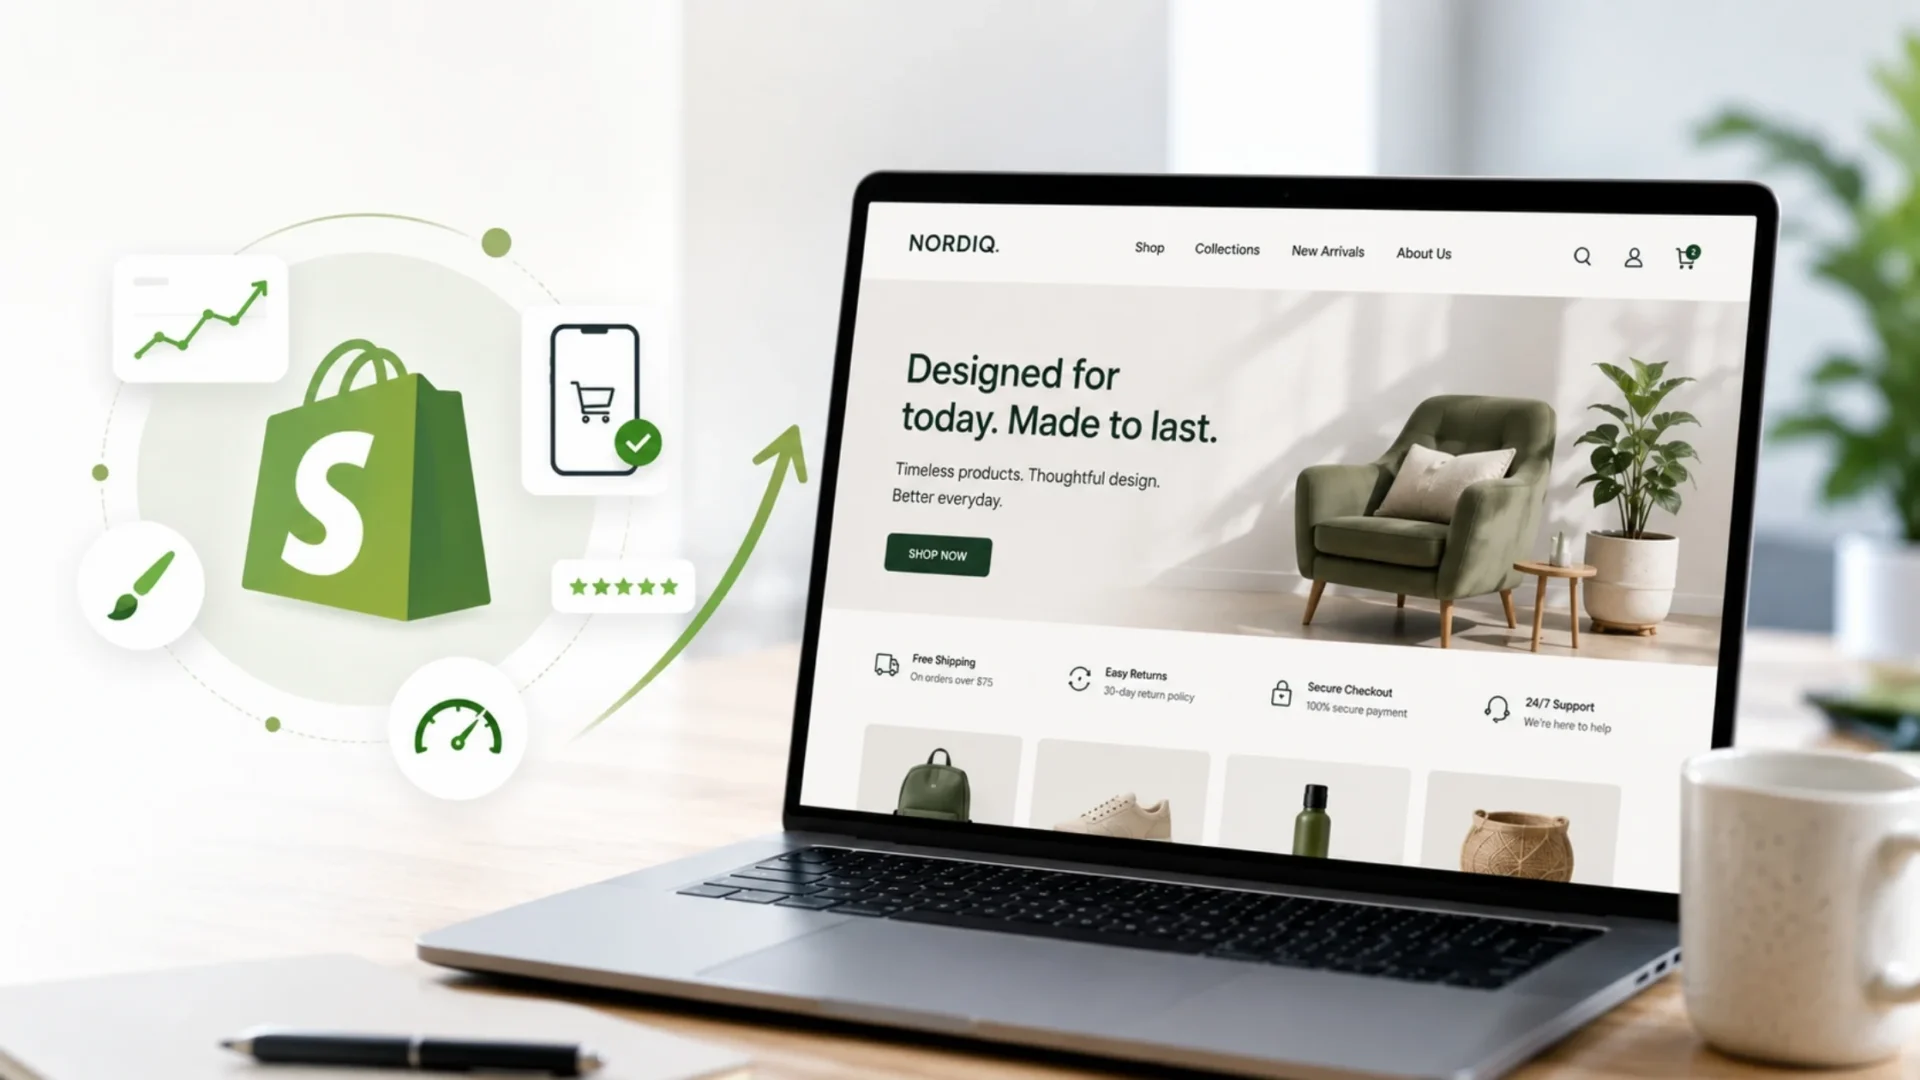
How to import data into the Shopify store?
![Shopify Import Products: How to Perform the Process? [Nov 2022]](https://litextension.com/blog/wp-content/uploads/2020/08/Import-store.png)
[Image Source : https://bit.ly/3tcKuVs]
There are multiple methods to import data in Shopify, and there is no single interface. Let us look at the process:
1. Configure the administrative settings
- Review the store migration considerations to ensure that everything is streamlined
- Follow the initial setup to make sure that the store details and settings are updated
- Be aware of the process of managing the account and getting access to the billing data
- Maintain staff accounts for your members with their credentials to secure all the information.
2. Import Store Information and Data into Shopify
It takes time to migrate data, which allows you to evaluate the current information and shortlist things you need to migrate. Once you are thorough with the knowledge, there are a few choices to migrate the data:
- Copy and paste the content from the old website
- Build an app that utilizes the Admin API
- Use migration apps from the Shopify App store
- Migrate data using CSV files
Your choice depends on the developer resources and the amount of information you need to migrate. Here is the list of different types of data and the migration option:
Products
- CSV file
- Shopify App Store
- Product API
Product Reviews
- Shopify Product reviews app
- Shopify App Store
Customers
- CSV file
- Shopify App Store
- Customer API
Historical Orders
- Transaction API
- Order API
- Shopify App Store
Store Credits, Gift Cards, and Certificates
- Shopify App Store
- GiftCard API
Pages
- Shopify App Store
- Page API
Blogs
- Blog Article API
- Shopify App Store
- Blog API
There are different priorities for the data that you plan to import. This might be products, orders, or customers.
3. Organize the data after migration
If you use a migration app to import the products into the Shopify store, it is important to review that all the information is correctly imported. Some methods you can use are:
- Check the product details like description, images, meta descriptions, and variants
- Make a collection to organize the products into different categories. This will also provide ease of access to the customers. Shopify allows adding a drop-down menu to your storefront.
- Keep a record of the product inventory and transfers for better stock management.
4. Set the website’s look and feel
When you redirect to the Shopify themes page, it has a default theme that can be customized per your requirements, for which you might want to hire a Shopify developer. There are a few options to add themes as an admin:
Adding a free theme from the admin section
- Redirect to Shopify Admin > Online Store > Themes
- From the free themes section, click on Explore Free themes
- Click on any theme from the window, know its features and preview the styles
- Click on Add button to choose it
Get a paid theme from the Shopify theme store
- Redirect to the Shopify theme store and select the best one for your business.
- Click on Buy Theme for the one you are sure as the money is non-refundable
- Click on Approve Charge for payment, and your theme will be added to the Themes page of the admin
Trial of paid themes
Some business owners want to get the experience of the theme before investing. Shopify gives freedom to try paid themes to ensure that their products and services are perfect before completing any payments. The process for this is as follows:
- Visit the Shopify theme store and select a paid theme
- Click on Try Theme, and a preview will load on your online platform
- You can either close the preview, buy the theme, or customize the theme from here
Set the Domain
You can buy a new domain or transfer the domain into the existing store. Let us share with you both the processes:
1. Getting a new domain
- Purchase the domain through Shopify
- Set the Shopify domain as Primary, as this becomes the domain that customers view in the browser, social media, and search results
- Decide the email forwarding to allow the customers to connect with you easily
- Share test emails to ensure the right working procedures
2. Migrate the existing domain
- Connect the domain to the Shopify store
- Meet the requirements for domain transfer
- Click on Settings > Domains
- Click on Connect Existing domain > Transfer it to Shopify
- Enter the domain you want to migrate
- Click on Next > Verify Domain
- Enter the authorization code in the Verification code
- Click on Next and ensure the domain is renewed automatically
- Select Buy and Transfer
Decide the Shipping process
Setting the Shipping methods and prices before launching your store is crucial. The procedure to arrange the shipping is as follows:
- Insert the Shipping Address to get accurate rates depending on the location
- Build shipping zones to provide shipping prices according to the countries, states, and regions
- Deal with the shipment dimensions like height, depth, and weight of the packages
- Define a shipping strategy that works for the business and meets your expectations
Integrate Payment Provider
- Choose the payment provider that is available in Shopify or third-party
- Enable the payment provider from the Shopify Admin
- Choose the method used to capture and authorize payments for the customers
How to export data from the Shopify store?

[Image Source : https://bit.ly/3UBOYAH}
The simple steps to follow for exporting products are:
- Redirect to Shopify Admin > Products
- Click on Export
- Select the products you plan to export
- Choose the type of CSV file:
1. Use Excel if you want to have a spreadsheet program and edit the products through a CSV file
2. Plain CSV if you will be using the plain-text editor - Click on Export Products
The simple steps to follow for exporting customers are:
- From the Shopify Admin, go to Customer
- Apply the necessary filters before exporting
- Select the export options:
1. Current Page
2. All Customers
3. Selected Customers
4. Current Search - Click on Export Customers to download the customer CSV
What are the benefits of migration in Shopify?

- Great Reliability: The platform provides great maintenance and features to run an online store smoothly.
- Cost-Effective: It provides everything for a beginner to an expert developer. With massive data migration support, it reduces the stress of developers.
- Transparent Process: Shopify’s import and export process is well-defined to ensure everything is structured and hassle-free.
- Secure: Every action you take on the store requires the right permissions and multiple confirmations to ensure your data is safe.
- Scalable: With an effortless migration process, business owners can scale their business and target a wider audience for their store.
The End Note!
We understand the complications and stress behind the migration of data in Shopify. There are multiple methods, and not an ideal one. It would help if you chose as per your data and store requirements. So, now you might have a clear picture of when you will import and export data from your ecommerce store.
Connecting with experienced Shopify development services is better as you understand the importance of every action during migration. We have our experts to make this process effective and simple. Amplify your store with the best feature and improve its performance by updating it constantly.