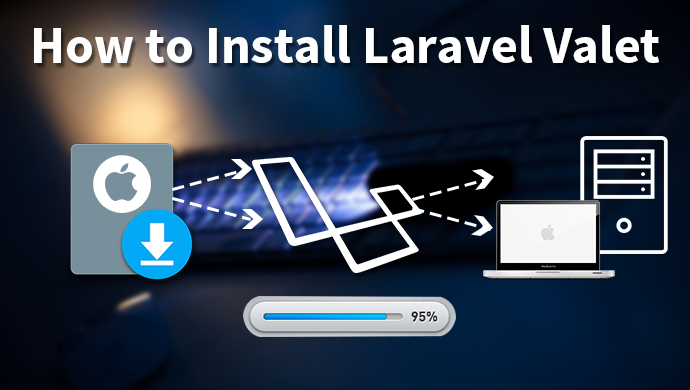
Say hello to valet!
The Laravel Valet is available only for mac users. If you use Laravel Valet in Laravel Development, then there is no need to install Vagrant, Apache, and Nginx.
The Laravel Valet Works by using the default PHP server of your Mac. After that, it uses DnsMasq to intermediate all solicitations to the .dev TLD to destinations on your Local machine. It is a great improvement for Laravel Development.
Here are the quick steps for Installation of Laravel Valet:
- Before installation, you must ensure that no different projects, for example, Apache or Nginx are installed on your local machine’s port 80.
- Valet requires macOS and Homebrew.
- Command to install Homebrew – brew update.
- Install PHP 7.1 – brew install homebrew/php/php7.1
- Ensure the ~/.composer/vendor/bin directory is in your system path.
- To install valet using composer – composer global require laravel/valet.
- Run the valet install command. This will install and configure DnsMasq and Valet, and register daemon(Valet’s) to launch when your system Boot.
- When Valet is introduced, take a stab at pinging any *.dev space on your terminal utilizing a call, for example, ping foobar.dev. On the off chance that Valet is introduced accurately you should see this area reacting on 127.0.0.1.
- Valet will consequently begin its daemon each time your machine boots. There is no compelling reason to run valet begin or valet introduce until the end of time once the underlying Valet establishment is finished.
For official documentation, visit the below link:https://laravel.com/docs/5.4/valet
Read this about : Learn The Implementation of Invite Code in Laravel